PlanPro Export

Contents
Process:
•Creating the PlanPro XML.
Requirements:
Description:
The Export of the planning project into a PlanPro-XML is performed via the ProSig Engineer or Prosig CAD. For each PlanPro export, a Validation dialog is activated at the beginning of the export process to check and if necessary to correct the object data. Subsequently, the export into a PlanPro-XML can be performed.
If the Planning project includes construction stages, the objects are handled as described in Step 4, depending on the setting of the option 'LST-Planungsprojekt exportieren'.
Procedure:
1.Execute the function 'Tables / PlanPro XML Export' in ProSig CAD or open the Export dialog in ProSig Engineer for selecting an Export procedure type.
Command Line: PRS_EXPORT
Ribbon: ProSig EPU -> Import/Export -> Tables / PlanPro XML Export
2.The Dialog for selecting an Export procedure type is displayed.
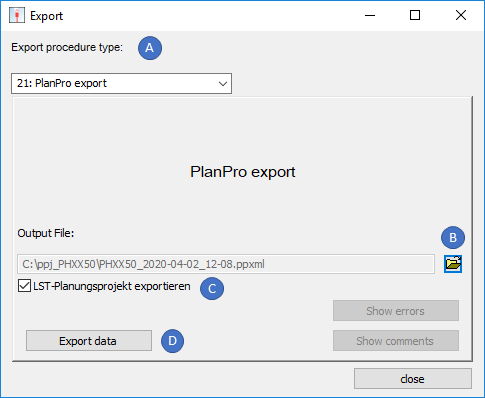
Illus.: Selected export procedure type 'PlanPro export' in the dialog Export
3.In the section 'Export procedure type' (A), select the type '21:PlanPro export'.
4.The Option 'LST-Planungsprojekt exportieren' (C) is checked by default. The assignment of the option determines the default for the name of the output file and the representation of the data in the PlanPro XML:
oIf this option is checked, all project data will be exported that were present during the last saving in ProSig CAD at the current construction stage and at the previous construction stage.
oIf this option is not checked, all data will be exported that were present during the last saving in ProSig CAD at the current stage of construction. Project meta data will not be exported.
5.Use the Folder icon (B) to launch the File selection dialog for saving the output file as PlanPro-XML.
oSpecify the storage location and name of the output file and use the 'Save' (E) button to define it.
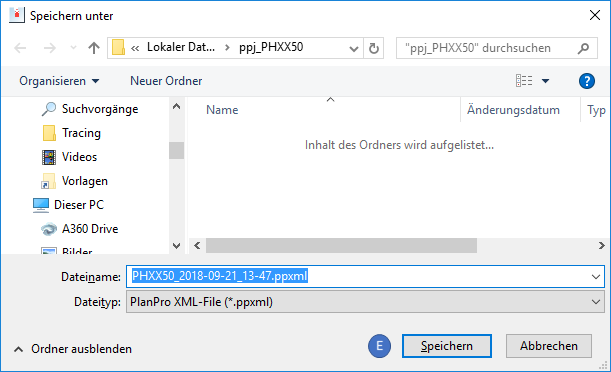
Illus.: Dialog for specifying the storage location and the name of the Output File
6.The Button 'Export data' (D) is used to initiate the export of PlanPro-XML. The data is automatically validated before it is exported. Invalid attributes and dependencies are listed in the Validation dialog.

Illus.: The Dialog 'Validation' in the ProSig Engineer
7.The Button 'Export' (F) of the Dialog 'Validation' is used to export the PlanPro-XML. If all Object data are correctly filled according to the Input Guidelines in Compliance with Directives, a valid PlanPro XML is exported .
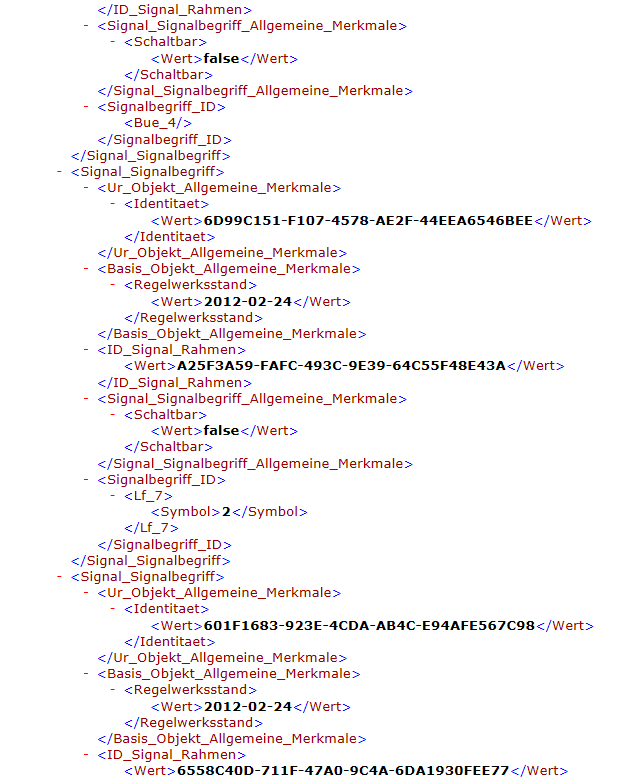
Illus.: Example view from a PlanPro XML file